There are few things in life as comforting as the smell of freshly baked bread filling your kitchen. For years, I thought making bread from scratch required a mysterious set of skills, a million steps, and a lot of muscle power. Then I discovered no-knead peasant bread, and everything changed.
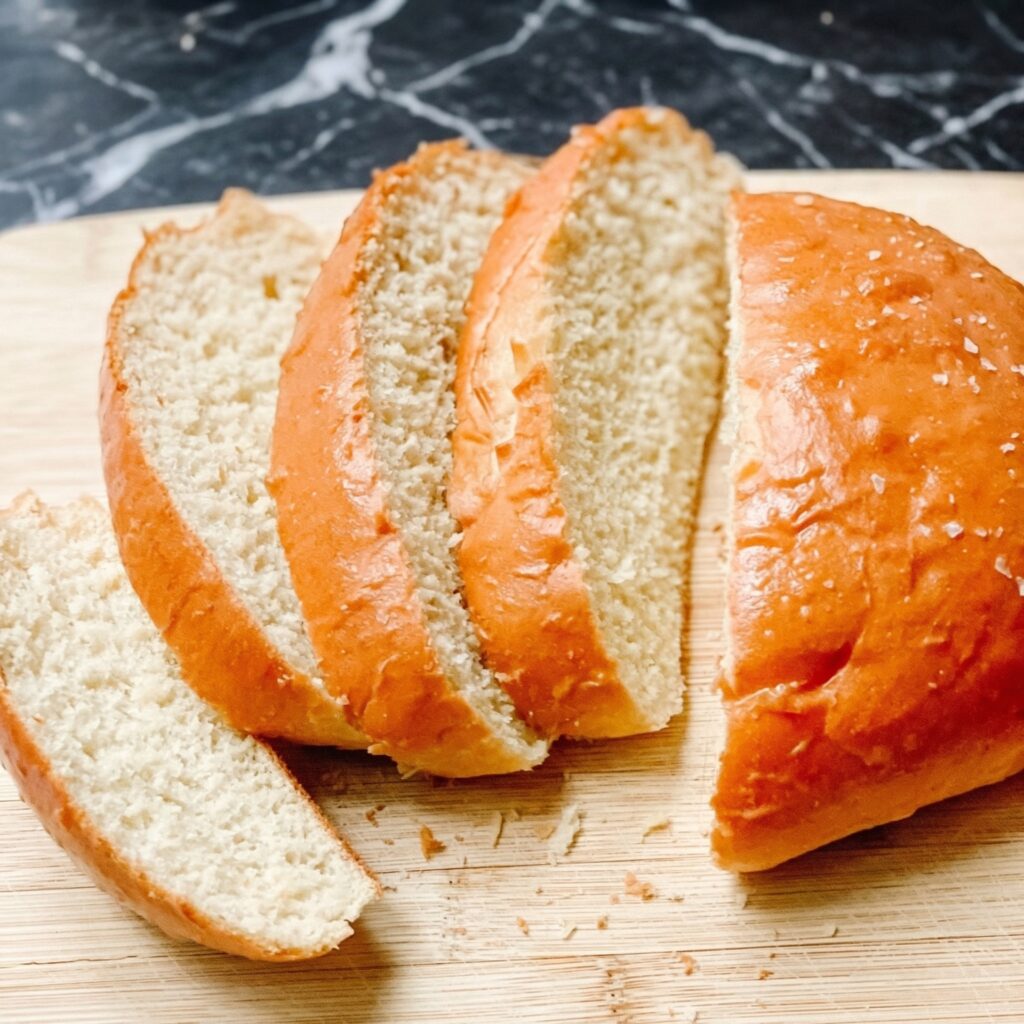
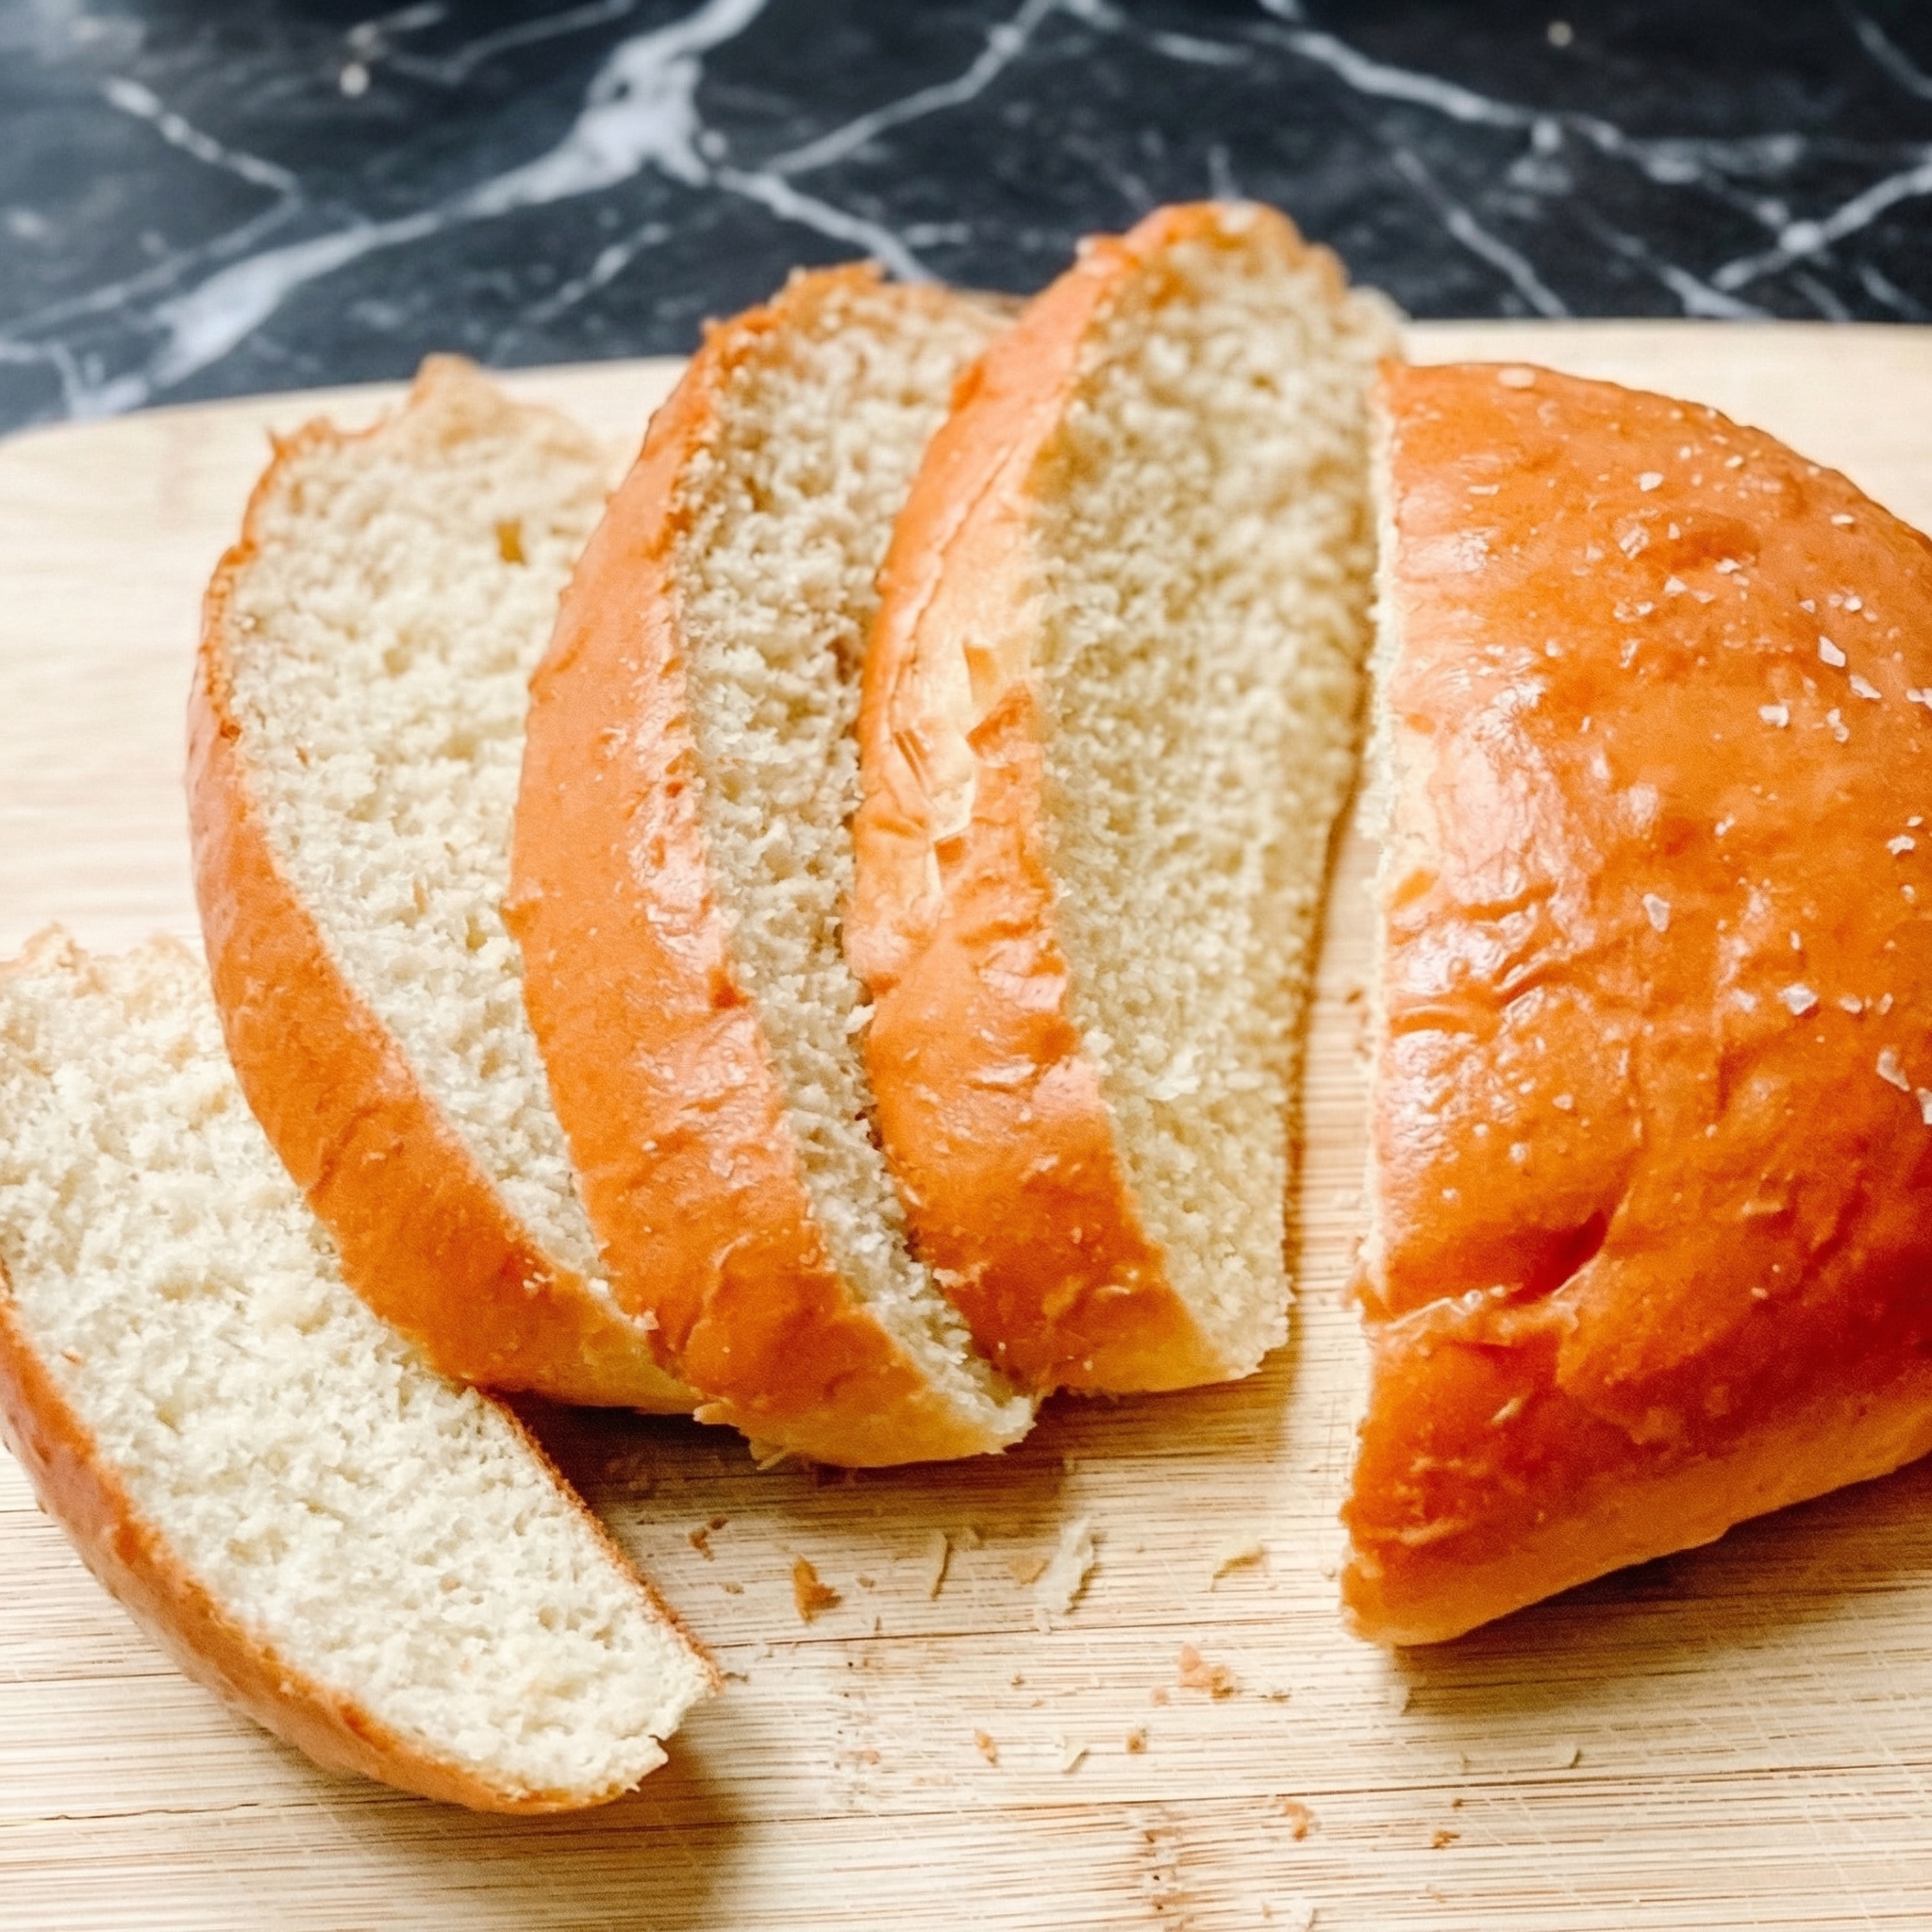
This recipe is pure magic. With just 4 simple ingredients and about 5 minutes of active work, you can create a loaf that looks and tastes like it came from a rustic French bakery. The crust is golden and buttery, the inside is soft and airy, and the flavor is pure, honest bread. Whether you’re a complete beginner or a seasoned baker looking for an easy weeknight loaf, this peasant bread will become your new obsession.
Step-by-Step Instructions
Mix the Dough
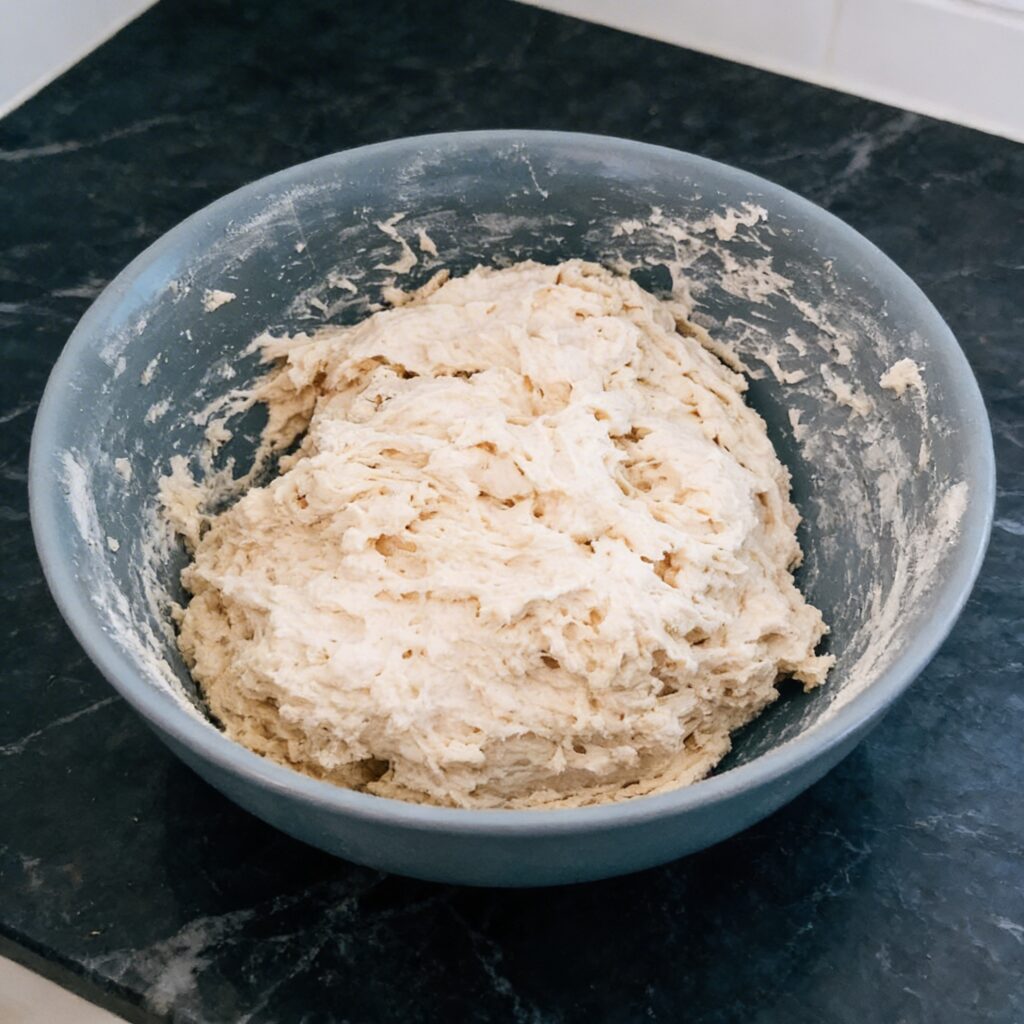
In a large mixing bowl, whisk together the flour, salt, sugar, and yeast until well combined.
Pour in the warm water and stir with a wooden spoon or a rubber spatula until a shaggy, sticky dough forms. There should be no dry patches of flour remaining. The dough will look rough and messy—this is exactly what you want!
Scrape down the sides of the bowl and cover tightly with plastic wrap or a clean kitchen towel.
First Rise (Let Time Do the Work)
Let the dough sit at room temperature for 1.5 to 2 hours. It should double in size and become bubbly and dotted with fermentation bubbles on the surface.
If you’re not ready to bake, you can refrigerate the dough at this point for up to 24 hours. Just punch it down, cover, and pop it in the fridge.
Second Rise in the Pan
Generously butter a 1.5-quart oven-safe baking dish (like a Pyrex casserole dish) or a 9-inch round cake pan. You can also use a standard loaf pan, but the shape will be different.
Using a spatula or your lightly floured hands, scrape the dough out of the bowl and gently fold it over on itself a few times to deflate it slightly.
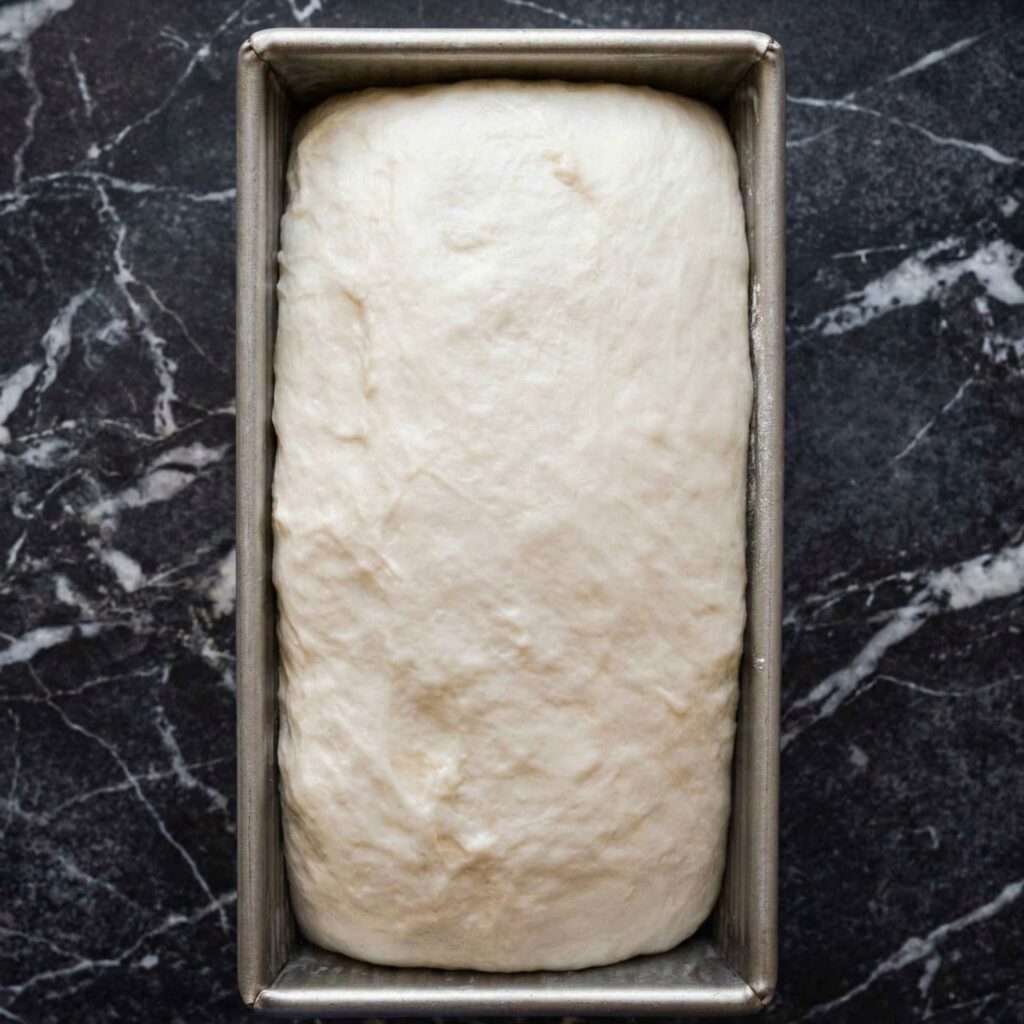
Transfer the dough to the prepared pan. It will be very soft and sticky. Don’t worry about shaping it perfectly—just plop it in.
Cover the pan loosely with oiled plastic wrap or a kitchen towel and let it rise for another 30-60 minutes, until the dough has risen noticeably and looks puffy. It should just about reach the top of the pan.
Preheat and Bake
About 20 minutes before the second rise is complete, preheat your oven to 425°F (220°C). Position a rack in the middle.
If desired, you can brush the top of the dough very gently with a little water or oil and sprinkle with flaky salt, herbs, or everything bagel seasoning.
Bake for 30-35 minutes, until the top is deeply golden brown and the loaf sounds hollow when tapped.
If the top is browning too quickly, tent loosely with foil for the last 10 minutes.
The Butter Bath (Optional but Essential!)
As soon as the bread comes out of the oven, brush the top generously with melted butter. This creates a soft, flavorful crust that’s absolutely irresistible.
Let the bread cool in the pan for 10 minutes, then carefully turn it out onto a wire rack to cool completely. I know it’s tempting, but try to wait at least 30 minutes before slicing so the interior sets properly!
Baker’s Tips for Perfect Peasant Bread
- Water Temperature Matters: The water should feel like warm bath water (105-115°F). Too hot will kill the yeast; too cold won’t activate it properly. If you’re using instant yeast, you can use slightly cooler water since it doesn’t need to “bloom.”
- Don’t Skip the Butter: Brushing the hot loaf with melted butter is the secret to that soft, glossy, flavorful crust. It takes the bread from good to unforgettable.
- Use a Food Scale for Best Results: Flour can vary wildly in volume depending on how you scoop it. For consistent results, weigh your flour: 500 grams is the sweet spot.
- The Dough is Supposed to Be Sticky: Don’t be tempted to add more flour! A wet, sticky dough is what creates the open, airy crumb structure. Resist the urge.
- Oven-Safe Dish: Make sure your baking dish is oven-safe up to 425°F. Glass, ceramic, and stoneware all work beautifully. Metal pans work too but may brown the crust faster.
Summary
Prep Time: 10 minutes | Rise Time: 2-2.5 hours | Bake Time: 35 minutes | Total Time: About 3 hours (mostly hands-off)
Yield: 1 loaf
Difficulty: Easy (Perfect for Beginners!)
Storage and Make-Ahead Tips
How to Store:
Store peasant bread wrapped tightly in plastic wrap or in an airtight container at room temperature for up to 3 days. The crust will soften slightly, but it’s still delicious.
Can You Freeze It?
Absolutely! This bread freezes beautifully. Let the loaf cool completely, then wrap tightly in plastic wrap and place in a freezer bag. Freeze for up to 3 months. Thaw at room temperature and refresh in a 350°F oven for 5-10 minutes to crisp up the crust.
Make-Ahead Option:
The dough can be refrigerated after the first rise for up to 24 hours. When you’re ready to bake, simply proceed with the second rise in the pan—it may take a little longer since the dough is cold.